
Checking you have the most up to date Custom List File
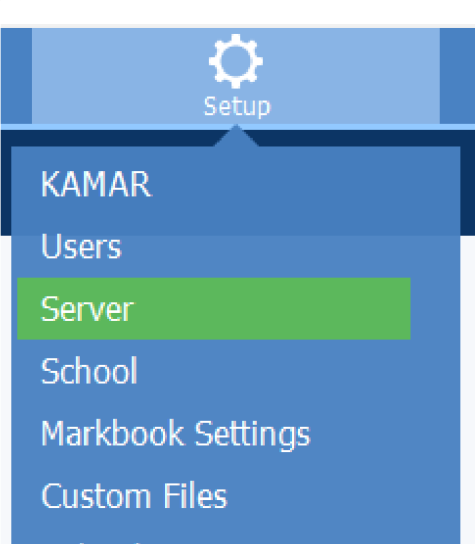
On KAMAR, go to Setup > Server

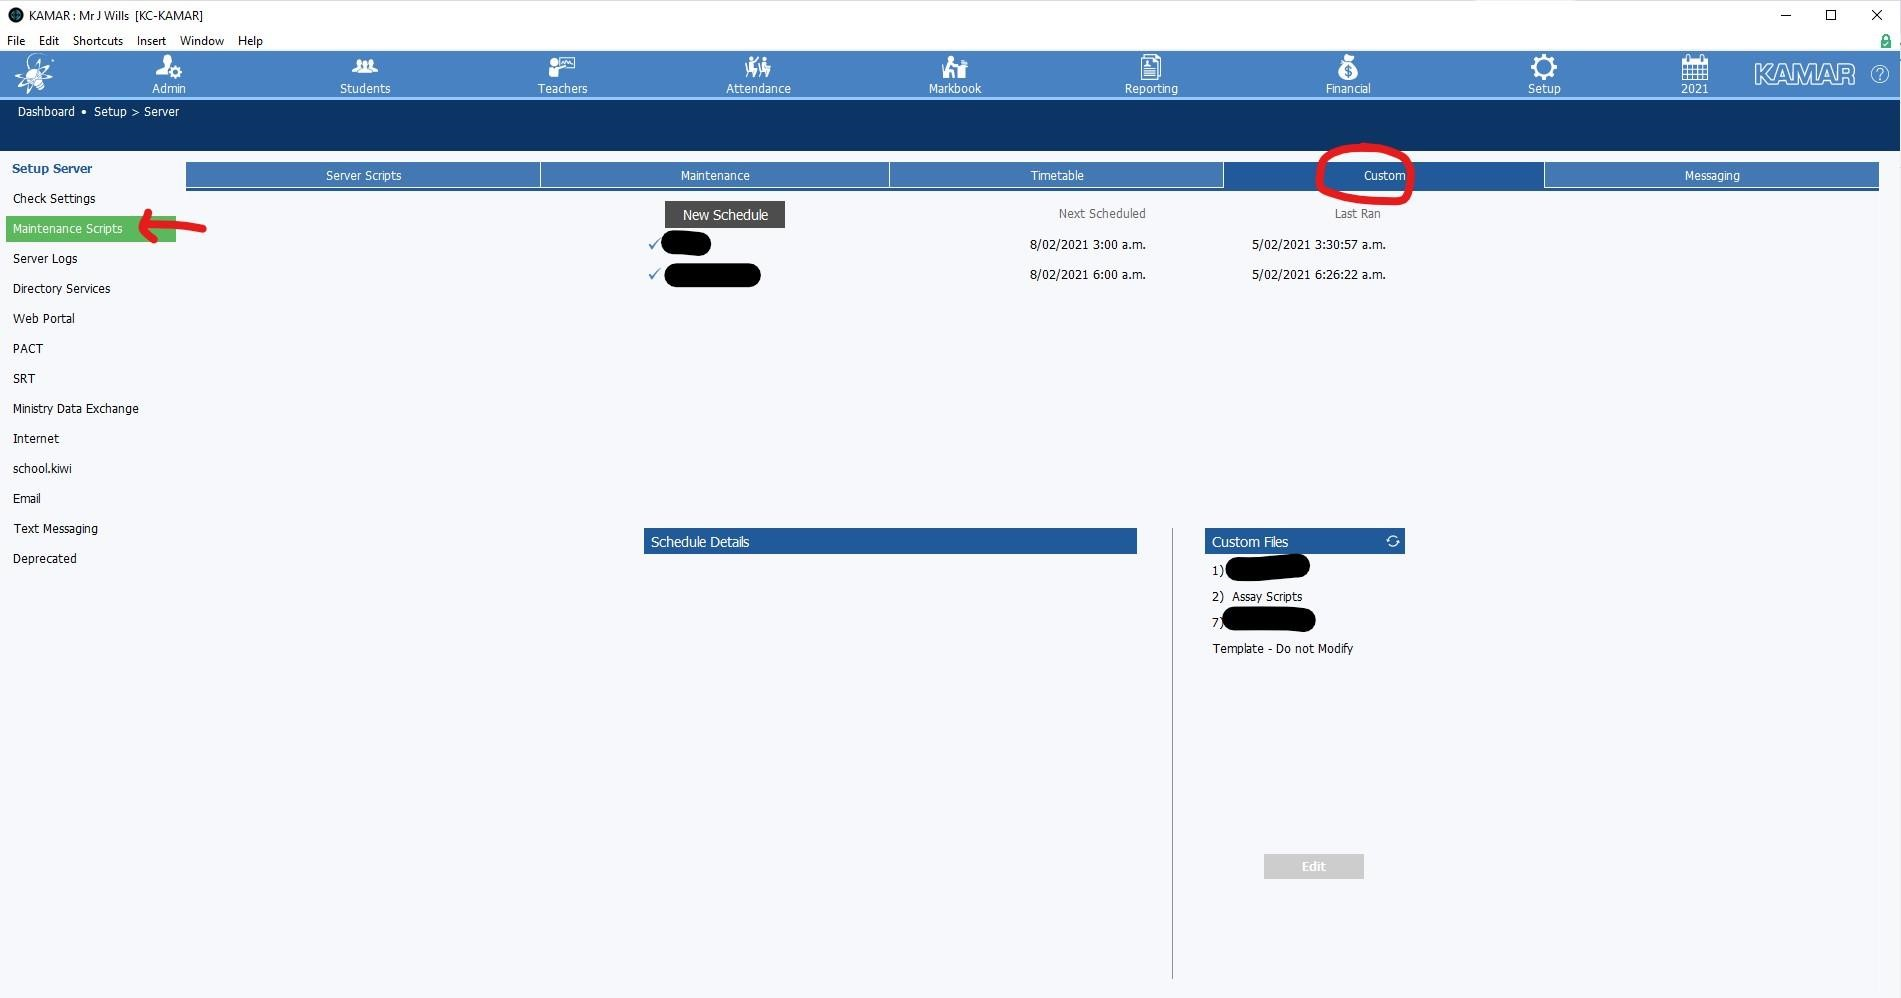
Then click on “Maintenance Scripts” > “Custom” and click the “Assay Scripts” on the list in the bottom right, and then press the “Edit” button underneath the list of custom files.

This will open up the scripts screen. Click on the “Instructions” script on the left. This will tell you when the file was last updated. The most recent version is 6 Feb 2021.
If you do not have the most recent version, you will want to update to get the most recent version.
Uploading and setting up the Assay Custom List File
This will help automate the process of uploading data to Assay from KAMAR by setting up a custom script to run on a daily basis.
On KAMAR go to Setup -> Custom Files
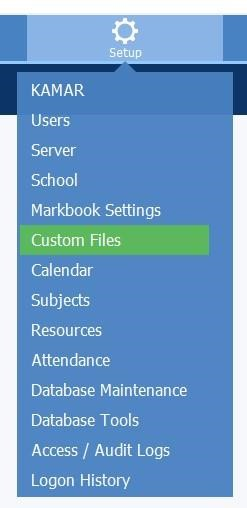
Press the “Upload File” button
![]()
Choose which lists file to upload this into. In this example we will use Lists2… remember this number for later.
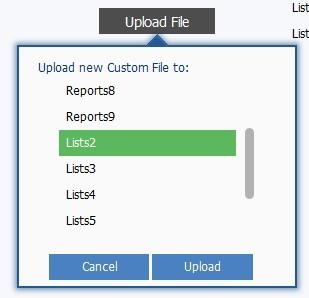
Then press upload.
Find the k_Lists2.fmp12 that you downloaded from the Assay website, and upload it.
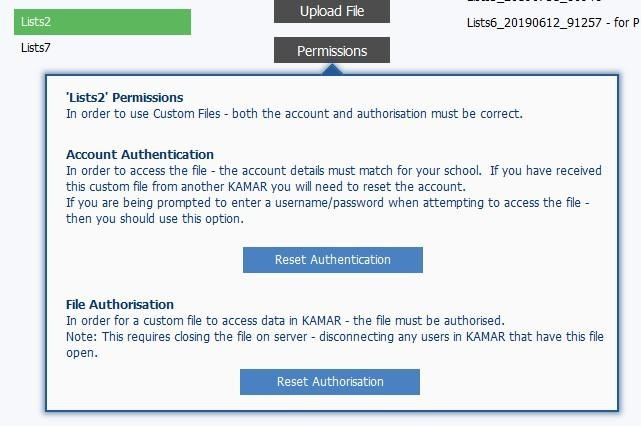
Then, with Lists2 Selected Press the “Permissions” button and press “Reset Authentication” and “Reset Authorisation” one after each other. This will reset all the permissions on the file.
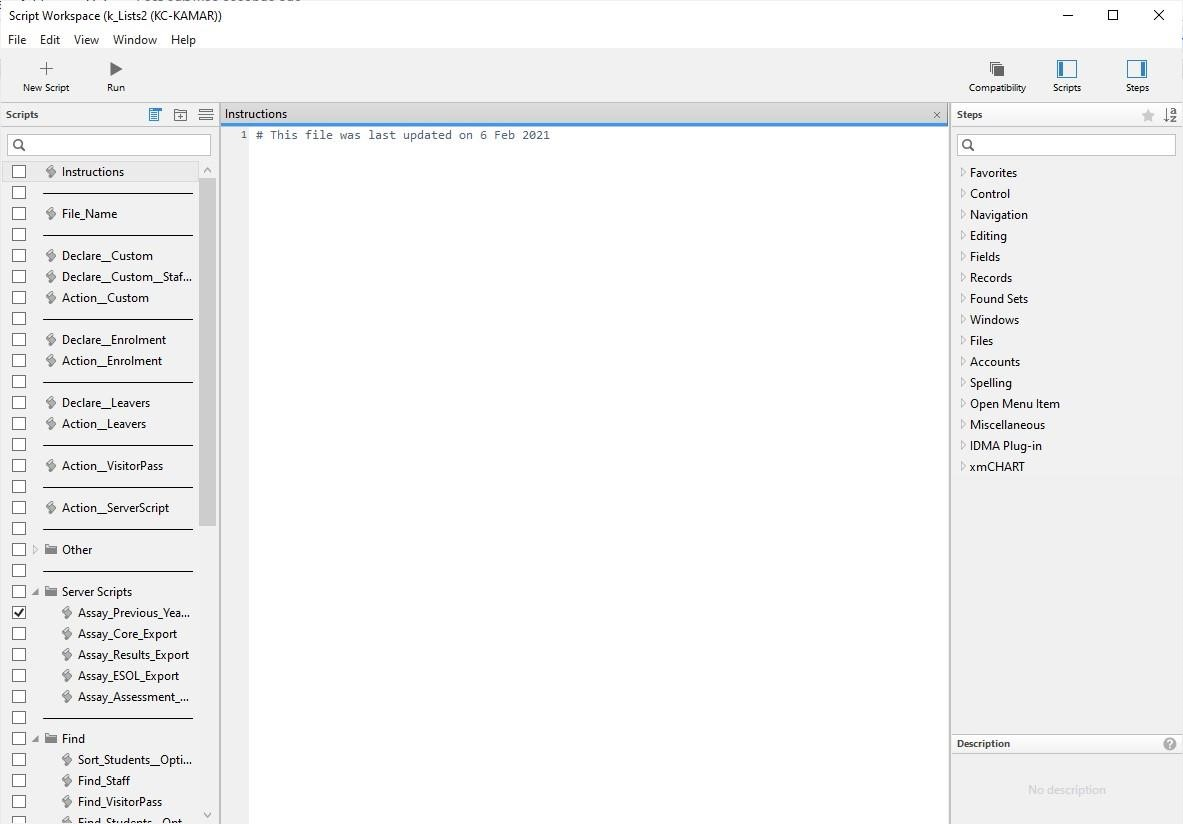
Then press the “Open File” button. This will bring up a screen that looks like this:
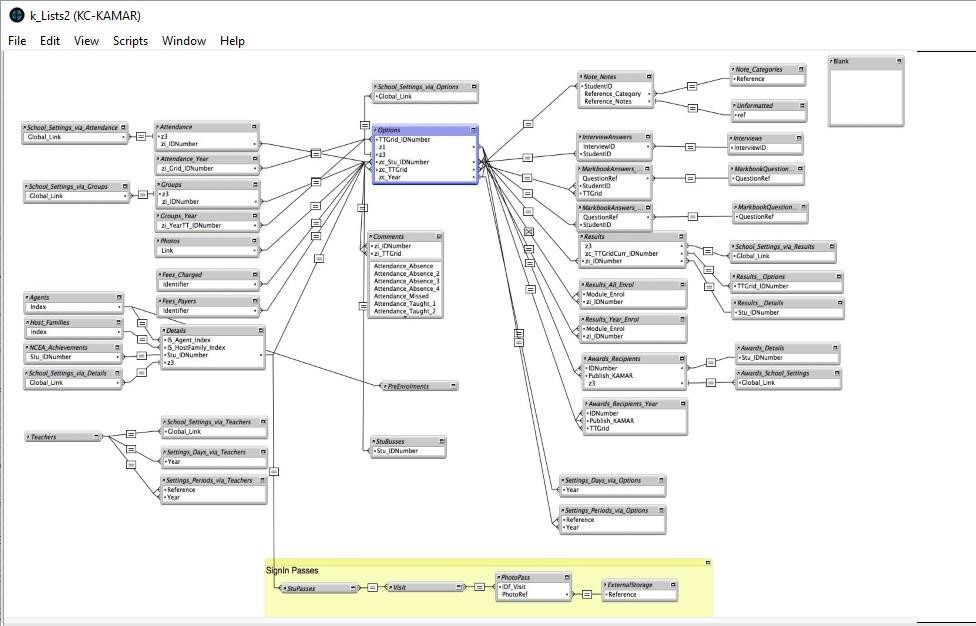
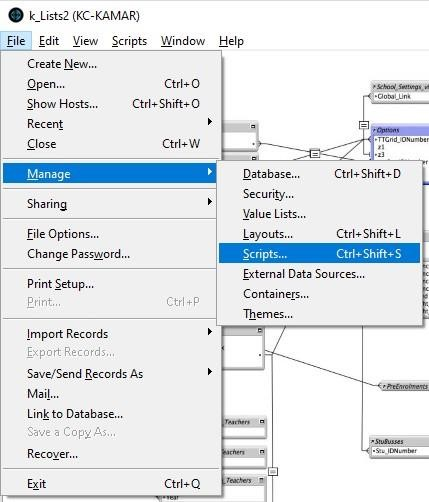
Click on File -> Manage -> Scripts
This will bring up a screen that looks like the one below. Double click on the option ‘Action_ServerScript’ located on the left side menu.
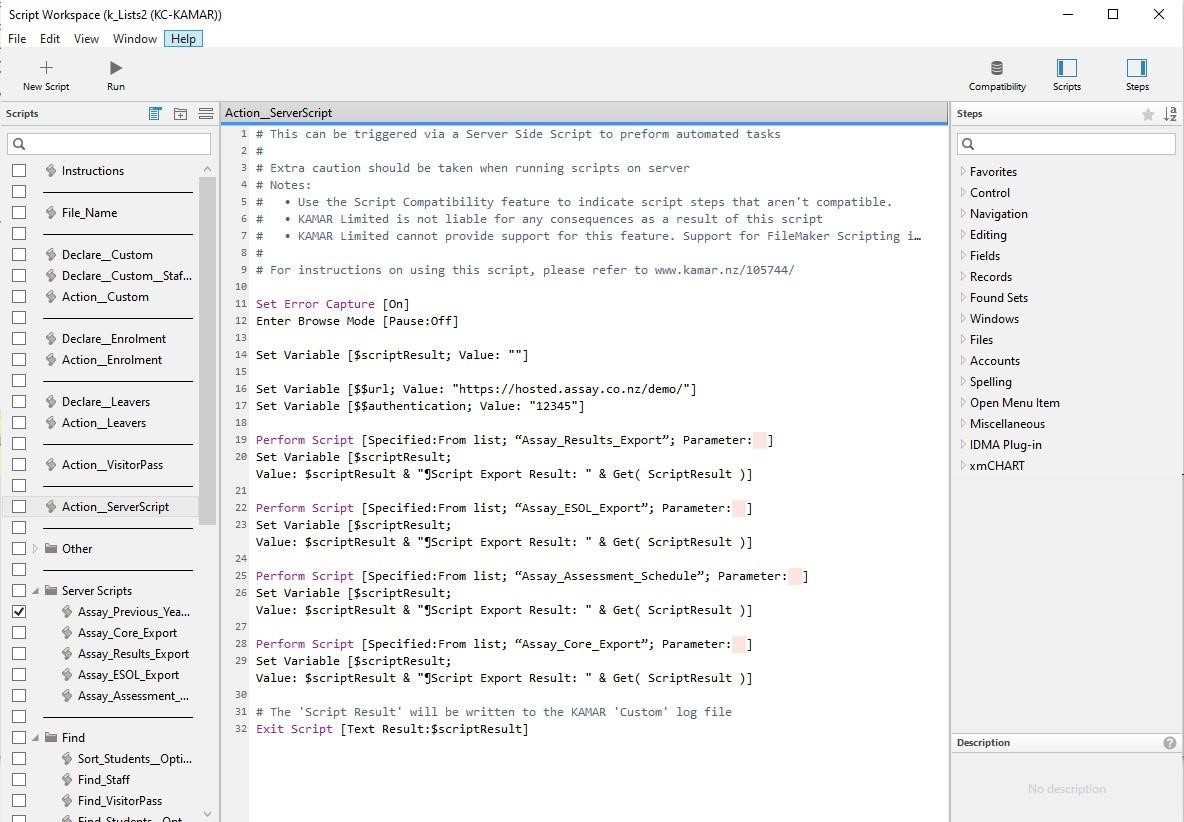
On line 16 double click where it says “https://hosted.assay.co.nz/demo/”. This will bring up a little popup that looks like this:
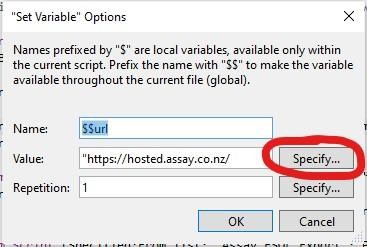
Press on the specify button and change the url to match the one that you use to access assay.
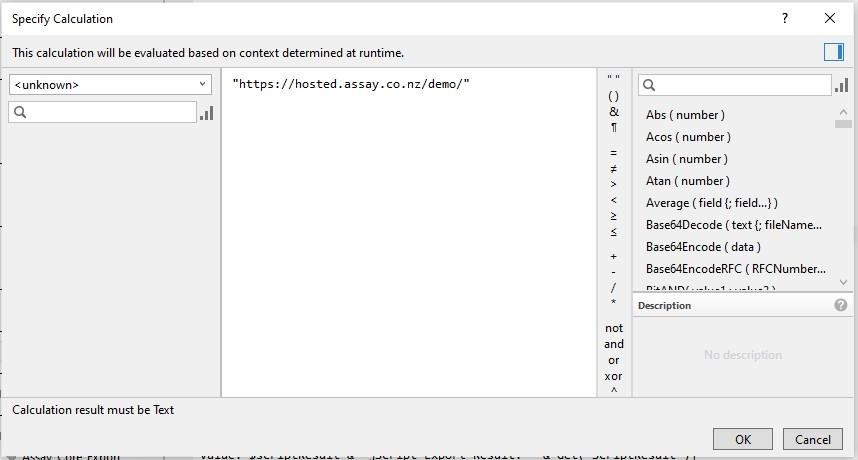
Once completed press “OK”
Repeat this for Line 17, replacing “12345” with the authentication that is in Assay -> Admin -> Config
Save the script (File -> Save or CTRL-s) and close out of the script editor and the k_Lists2 file by pressing the cross in the top right corner.
Then go to Setup -> Server
Then click on “Maintenance Scripts” -> “Custom” and click the “New Schedule” button.
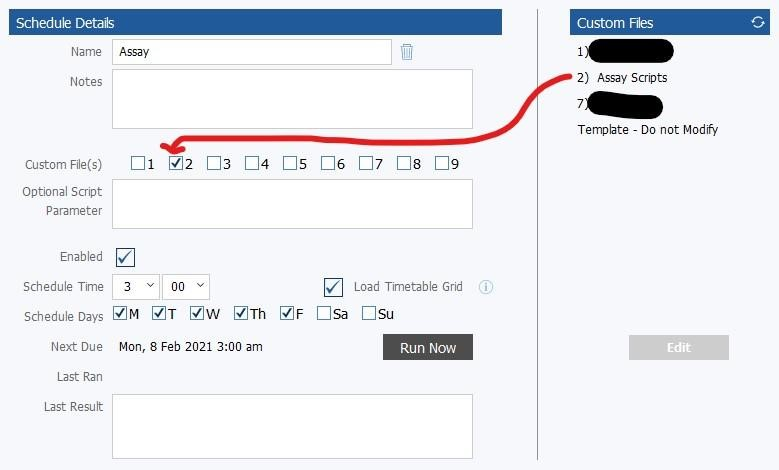
Set the new schedule up like below.
Name: Assay
Custom File: make sure it matches the custom file you are using
Tick the “Enabled” button
Schedule a time between 3am and 4am.
Tick the “Load Timetable Grid”
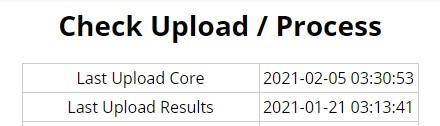
Once you are finished press the “Run Now” button. Depending on the size of your school and when it is during the year this can take up to a couple of hours to run. You can confirm that it ran successfully by going onto Assay under Admin -> Check Upload / Process and seeing when the core and results files were last uploaded.
Exporting Data for Previous Years
The automatic scripts above only upload data for the current year. As NZQA releases NCEA results the year after the apply to, once a year, after the results come out, we need to do a manual upload into assay to load this data in. Please note, this can take a little while to run… so you may want to get it running and then go find something else to do.
Exporting Results
On KAMAR go to Setup -> Server

Then click on “Maintenance Scripts” -> “Custom” and click the “Assay Scripts” on the list in the bottom right, and then press the “Edit” button underneath the list of custom files.

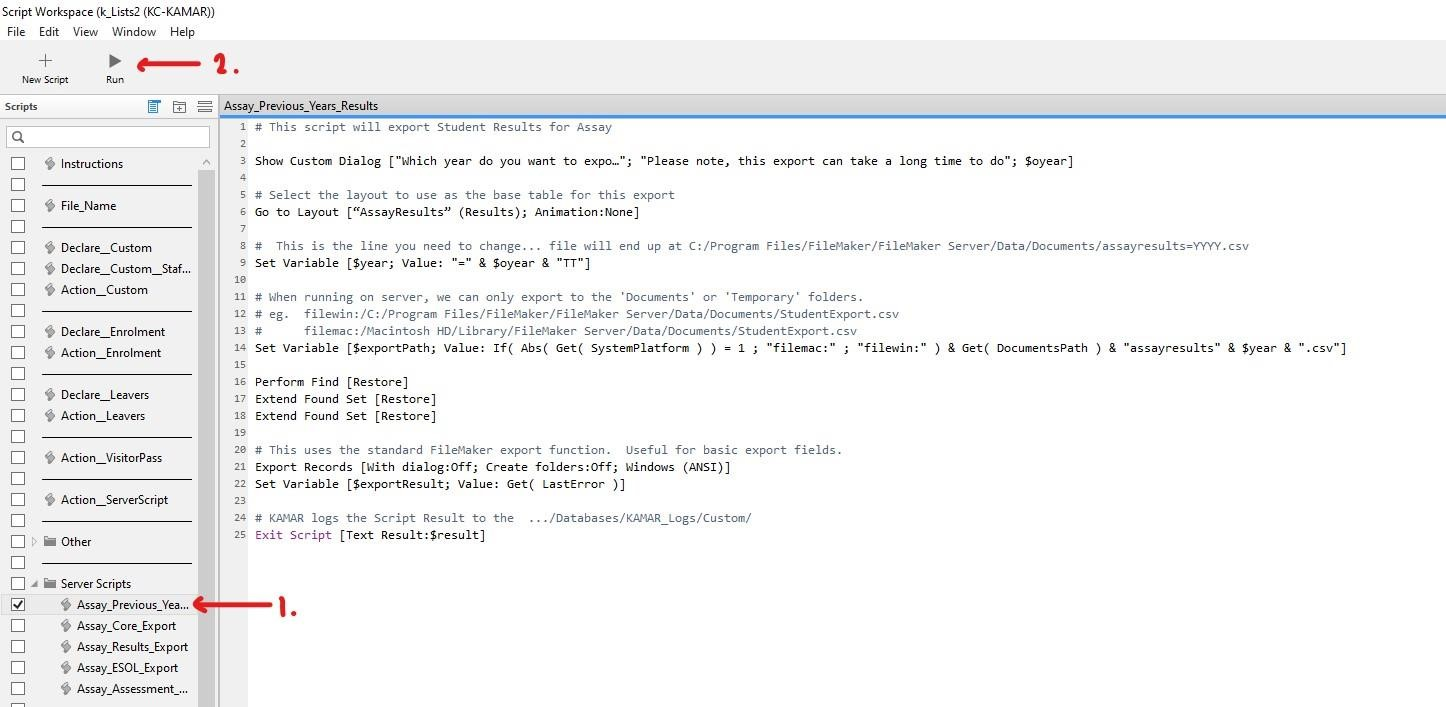
This will open up the scripts screen. On this screen click on the “Assay_Previous_Years_Results” and click the run button up the top.
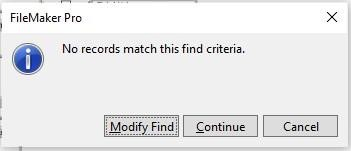
This may cause a popup like this to come up, if it does just press the “Continue” button.
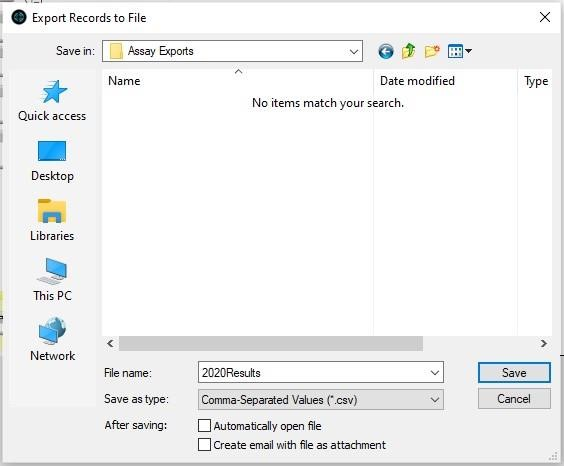
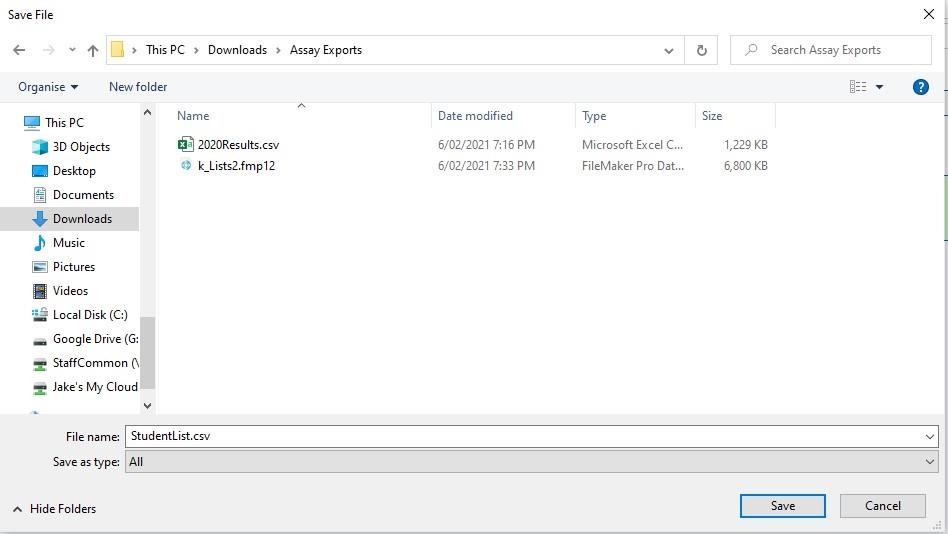
You will then be asked where you want to save the file. Make sure you choose the “CSV” file type, and give it a name where you can find it later. Then press save.
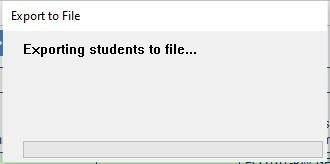
This will then bring up a slider showing the export process.
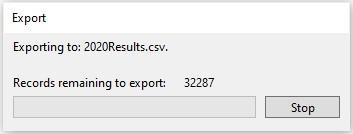
Once it has finished make sure the file is created where you were expecting it.
Exporting Core Data
Copy the all the list in red text below:
ID Number
Last Name  (Preferred)
First Name  (Preferred)
Student email - School
All Subjects with Teachers (semi-colon)
Ethnicity - Level 1 Group
Gender
Year Level
NZQA - Credits Level 1 - Achieved
NZQA - Credits Level 1 - Merit
NZQA - Credits Level 1 - Excellence
NZQA - Level 1 NCEA (Short)
NZQA Results - L1 NCEA Endorsement
NZQA - Credits Level 2 - Achieved
NZQA - Credits Level 2 - Merit
NZQA - Credits Level 2 - Excellence
NZQA - Level 2 NCEA (Short)
NZQA Results - L2 NCEA Endorsement
NZQA - Credits Level 3 - Achieved
NZQA - Credits Level 3 - Merit
NZQA - Credits Level 3 - Excellence
NZQA - Level 3 NCEA (Short)
NZQA Results - L3 NCEA Endorsement
NZQA - Numeracy
NZQA - L1 Literacy
NZQA - UE Literacy
NZQA Results - UE Num
Attendance - Percentage  (Half-Days)
Enrollment Status
NZQA - Credits Level 1 - Not Achieved
NZQA - Credits Level 2 - Not Achieved
NZQA - Credits Level 3 - Not Achieved
House
Type
Leaving Date
Tutor
Ethnicity - Level 2 Group
Pastoral Attendance Item Count
Pastoral Classroom Item Count
Pastoral Demerits Total All
Pastoral Demerits Total Current
Pastoral Discipline Item Count
Pastoral Guidance Item Count
Pastoral Other Item Count
Pastoral Points Total All
Pastoral Points Total Current
Pastoral Total Item Count
Pastoral Uniform Item Count
Recognitions - Item Count
Periods - Absent (Year)
Periods - Justified (Year)
Periods - Unjustified (Year)
Attendance - Total Periods (Year)
Previous School 1 Name
National Student Number (NSN)
Timetable Class  (Bottom 3)
Timetable Class  (Top 4)
Timetable Class
Attendance by Code - ? (Year)
Attendance by Code - A (Year)
Attendance by Code - C (Year)
Attendance by Code - D (Year)
Attendance by Code - E (Year)
Attendance by Code - F (Year)
Attendance by Code - G (Year)
Attendance by Code - H (Year)
Attendance by Code - I (Year)
Attendance by Code - J (Year)
Attendance by Code - K (Year)
Attendance by Code - L (Year)
Attendance by Code - M (Year)
Attendance by Code - N (Year)
Attendance by Code - O (Year)
Attendance by Code - P (Year)
Attendance by Code - Q (Year)
Attendance by Code - R (Year)
Attendance by Code - S (Year)
Attendance by Code - T (Year)
Attendance by Code - U (Year)
Attendance by Code - V (Year)
Attendance by Code - W (Year)
Attendance by Code - X (Year)
Attendance by Code - Y (Year)
Attendance by Code - Z (Year)
Attendance by Code - Term 1 - ?
Attendance by Code - Term 1 - A
Attendance by Code - Term 1 - C
Attendance by Code - Term 1 - D
Attendance by Code - Term 1 - E
Attendance by Code - Term 1 - F
Attendance by Code - Term 1 - G
Attendance by Code - Term 1 - H
Attendance by Code - Term 1 - I
Attendance by Code - Term 1 - J
Attendance by Code - Term 1 - K
Attendance by Code - Term 1 - L
Attendance by Code - Term 1 - M
Attendance by Code - Term 1 - N
Attendance by Code - Term 1 - O
Attendance by Code - Term 1 - P
Attendance by Code - Term 1 - Q
Attendance by Code - Term 1 - R
Attendance by Code - Term 1 - S
Attendance by Code - Term 1 - T
Attendance by Code - Term 1 - U
Attendance by Code - Term 1 - V
Attendance by Code - Term 1 - W
Attendance by Code - Term 1 - X
Attendance by Code - Term 1 - Y
Attendance by Code - Term 1 - Z
Attendance by Code - Term 2 - ?
Attendance by Code - Term 2 - A
Attendance by Code - Term 2 - C
Attendance by Code - Term 2 - D
Attendance by Code - Term 2 - E
Attendance by Code - Term 2 - F
Attendance by Code - Term 2 - G
Attendance by Code - Term 2 - H
Attendance by Code - Term 2 - I
Attendance by Code - Term 2 - J
Attendance by Code - Term 2 - K
Attendance by Code - Term 2 - L
Attendance by Code - Term 2 - M
Attendance by Code - Term 2 - N
Attendance by Code - Term 2 - O
Attendance by Code - Term 2 - P
Attendance by Code - Term 2 - Q
Attendance by Code - Term 2 - R
Attendance by Code - Term 2 - S
Attendance by Code - Term 2 - T
Attendance by Code - Term 2 - U
Attendance by Code - Term 2 - V
Attendance by Code - Term 2 - W
Attendance by Code - Term 2 - X
Attendance by Code - Term 2 - Y
Attendance by Code - Term 2 - Z
Attendance by Code - Term 3 - ?
Attendance by Code - Term 3 - A
Attendance by Code - Term 3 - C
Attendance by Code - Term 3 - D
Attendance by Code - Term 3 - E
Attendance by Code - Term 3 - F
Attendance by Code - Term 3 - G
Attendance by Code - Term 3 - H
Attendance by Code - Term 3 - I
Attendance by Code - Term 3 - J
Attendance by Code - Term 3 - K
Attendance by Code - Term 3 - L
Attendance by Code - Term 3 - M
Attendance by Code - Term 3 - N
Attendance by Code - Term 3 - O
Attendance by Code - Term 3 - P
Attendance by Code - Term 3 - Q
Attendance by Code - Term 3 - R
Attendance by Code - Term 3 - S
Attendance by Code - Term 3 - T
Attendance by Code - Term 3 - U
Attendance by Code - Term 3 - V
Attendance by Code - Term 3 - W
Attendance by Code - Term 3 - X
Attendance by Code - Term 3 - Y
Attendance by Code - Term 3 - Z
Attendance by Code - Term 4 - ?
Attendance by Code - Term 4 - A
Attendance by Code - Term 4 - C
Attendance by Code - Term 4 - D
Attendance by Code - Term 4 - E
Attendance by Code - Term 4 - F
Attendance by Code - Term 4 - G
Attendance by Code - Term 4 - H
Attendance by Code - Term 4 - I
Attendance by Code - Term 4 - J
Attendance by Code - Term 4 - K
Attendance by Code - Term 4 - L
Attendance by Code - Term 4 - M
Attendance by Code - Term 4 - N
Attendance by Code - Term 4 - O
Attendance by Code - Term 4 - P
Attendance by Code - Term 4 - Q
Attendance by Code - Term 4 - R
Attendance by Code - Term 4 - S
Attendance by Code - Term 4 - T
Attendance by Code - Term 4 - U
Attendance by Code - Term 4 - V
Attendance by Code - Term 4 - W
Attendance by Code - Term 4 - X
Attendance by Code - Term 4 - Y
Attendance by Code - Term 4 - Z
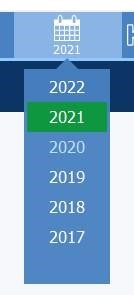
On KAMAR in the top right change the year to the year you want to export the results for (eg: 2020)
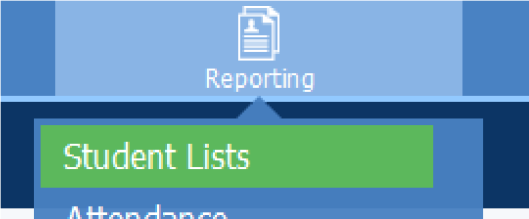
Then go to Reporting -> Student Lists
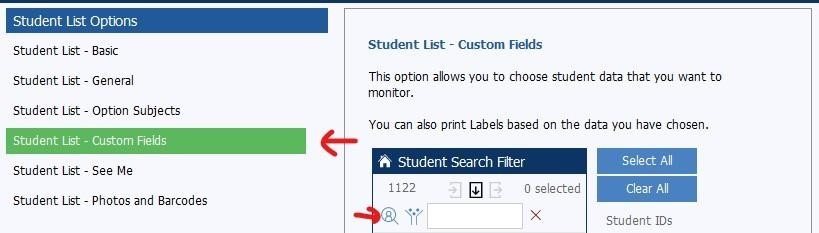
And then click on “Student List – Custom Fields” and press the magnifying glass in the Student Search
Filter
Change the “Find” to “All” and press continue
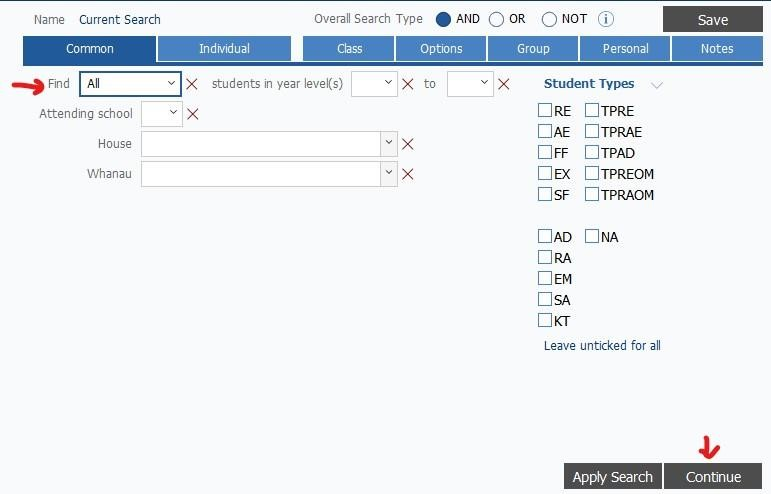
Then press the “OK” button under the list of students
Click the “Field List” button, and paste in the list we copied earlier, and press the “Apply” button.

This will update the display. Depending on the number of students, this could take a little bit of time.
Then press Actions -> Export, making sure the settings are the same as below.
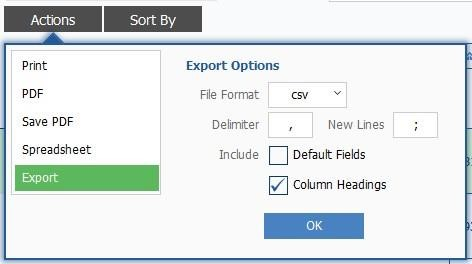
Then press “OK” This will then ask you where you want to save it. Choose your location and file name and press save.
This will bring up a slider showing the export process:
Once it has finished make sure the file is created where you were expecting it.
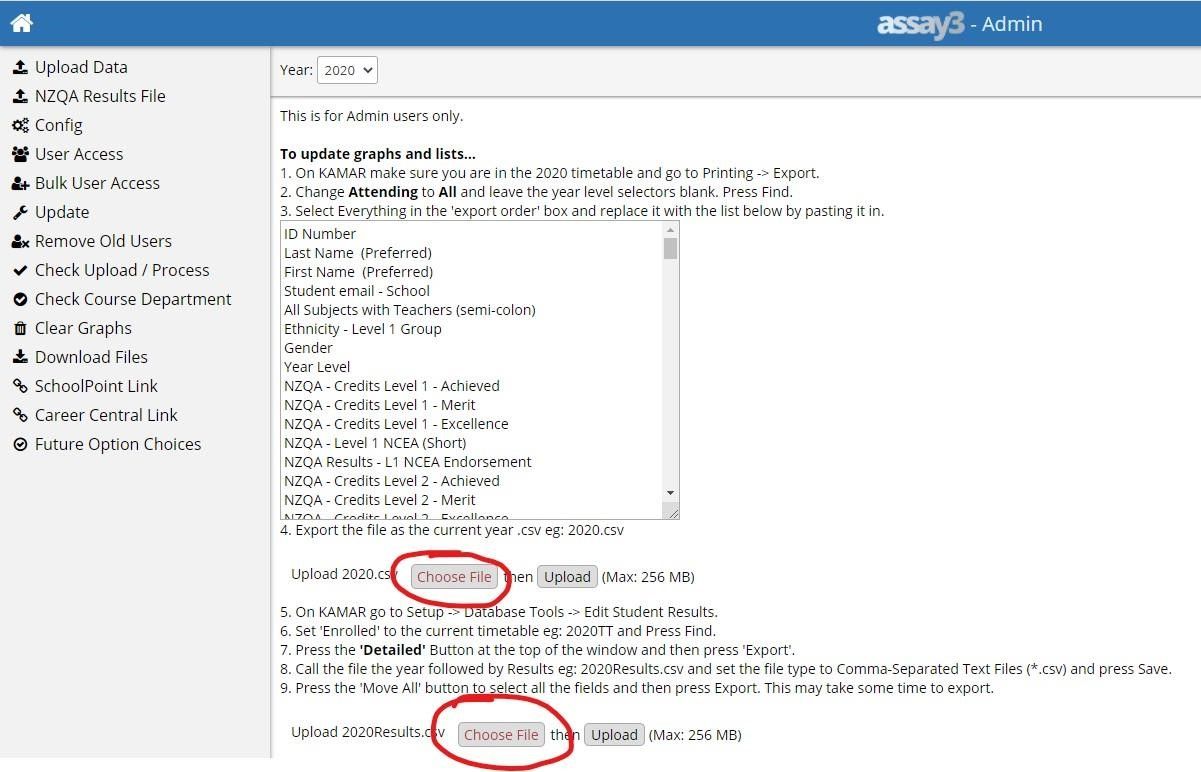
Uploading to Assay
On Assay go to Admin -> Upload Data. Change the year at the top to the year you want to load the data for. Press the two chosen file buttons… the first one you want to upload the Core Data, the second one the Results data. After choosing the file you need to press the “Upload” button and it will tell you if it has been successful.
Then scroll right to the bottom of that window and press the “Process” button. This will show the process on the screen and tell you when it has finished.